It’s autumn in NYC, which in my humble opinion, is the BEST season. Everyone is back to business, working hard, looking mucho sexy in their jackets, hair blowing in the wind, fire-colroed tress aplenty.
I’m going on 7 (!!!!!) years in Brooklyn and still happy as a clam and lucky to be here. I made a middle-of-the-year resolution to be more outgoing and take advantage of what this city has to offer to balance out the fact that I work too much.I’ve been actively knocking items off my NYC bucket list and that list includes a trip to the Catskills to see the autumn leaves (I’ll post pics of that in a few days), and carving a pumpkin for the stoop.
I’ve never carved a pumpkin before. I don’t recall if it ever came up during my childhood, but my mom is a super practical lady, and somehow I have a hard time imagining her going out of her way to buy a $15 in-edible vegetable just to cut holes in it and toss it in the trash. But now I’m a freelancer! All I do in my spare time is come up with impractical/expensive arts and crafts projects! Ok, this one wasn’t THAT expensive. Aaron bought me a super attractive pumpkin for $10 at the fancy market by our house. The carving kit was $6 from Michaels. Time commitment: approx 4 hours.
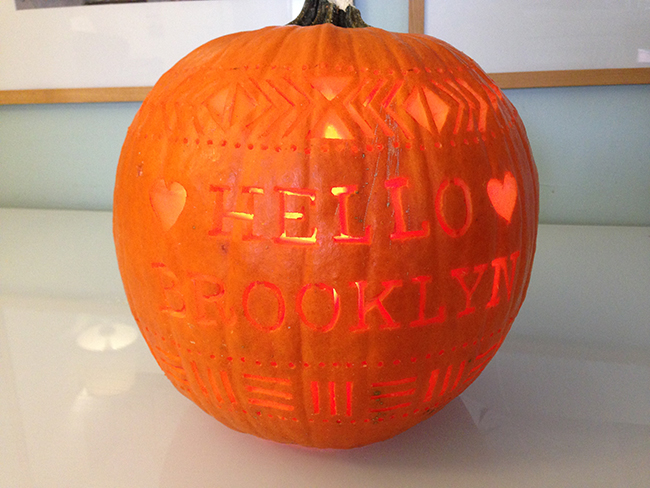
 pin it!Since I graphic design everything in my life, I figured, why not graphic design my pumpkin. A little type…some triangles and dots, and BAM. Hipster pumpkin!!!
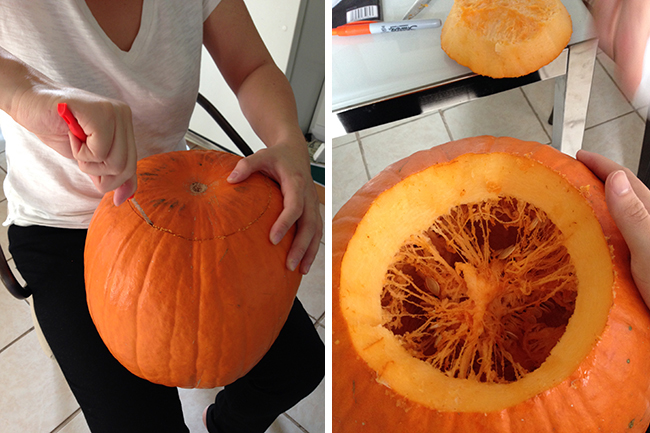
 pin it!Apparently these days, the cool kids are cutting the hole in the bottom of the pumpkin. I support that. Keeps the top looking clean. I scraped the inside then scooped out the guts.
 pin it!My pumpkin carving kit came with this nifty wheel that you can use to poke through paper and easily transfer your designs onto the pumpkin using the little holes as guidelines. I used 3 little serrated knives and a drill to make all my holes and shapes.
Looks way better in the dark.


